
In 1908, Frederick Whitney, an artist and teacher in Salem, Massachusetts published Blackboard Sketching, a book dedicated to the art of blackboard chalk drawings. As the book’s forward states:
Ability to draw easily and well on the blackboard is a power which every teacher of children covets. Such drawing is a language which never fails to hold attention and awaken delighted interest.
The fascinating book not only outlines techniques and methods but provides an amazing gallery of artworks drawn by Whitney himself. The book is currently in the collection of the University of California’s Digital Library and is available to view and download in its entirety via Archive.org.
1.

Take half or two-thirds of a stick of chalk, discard the small end, and use such a piece in nearly all the lessons given. In this case place the chalk horizontally upon the board, and drag it gradually downward, keeping an even pressure upon the chalk. Try this in various directions. The oblique lines show what a variety of width may be obtained by changing the angle of the chalk.
At 1, the full length of the chalk is required to give the broad stroke desired. At Nos. 2, 3, 4 and 5, the line above the stroke indicates the angle at which the chalk is placed in order to give the width of the strokes below. The use of the chalk in this manner enables one to obtain any desired width of line, without constantly changing the piece of chalk. A light or dark tone is produced by varying the pressure upon the chalk.
In drawing the telegraph pole, draw first a delicate vertical stroke, then add the horizontal cross pieces with a stronger accent, and last the white strokes indicating thickness. In the case of the chicken coop, draw first the oblique slats, then with a stronger pressure upon the chalk, add the horizontal slats, and lastly, with the point of the chalk add the accented bits of detail. Almost any simple object composed of straight lines may be drawn in this manner.
2.

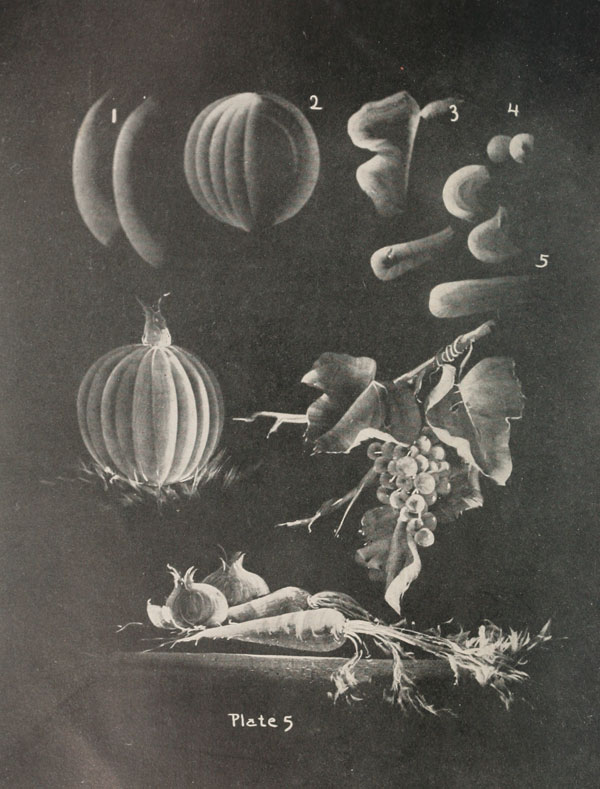
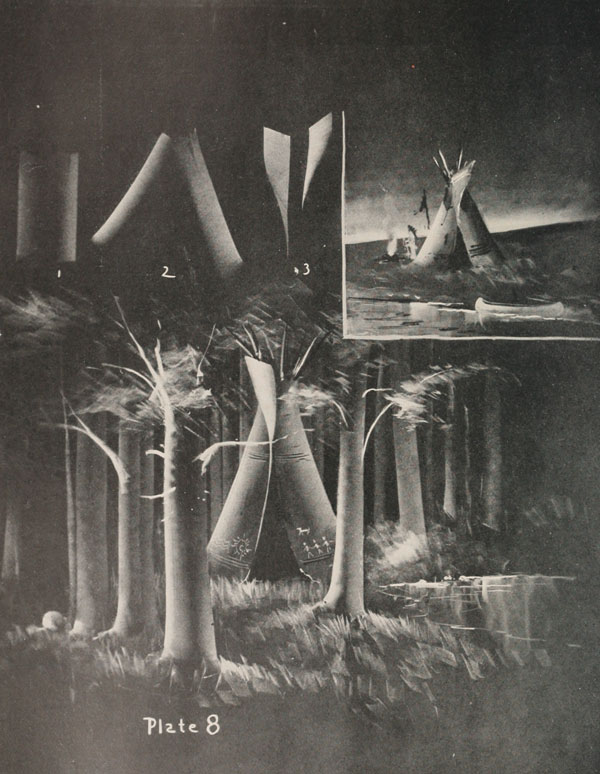
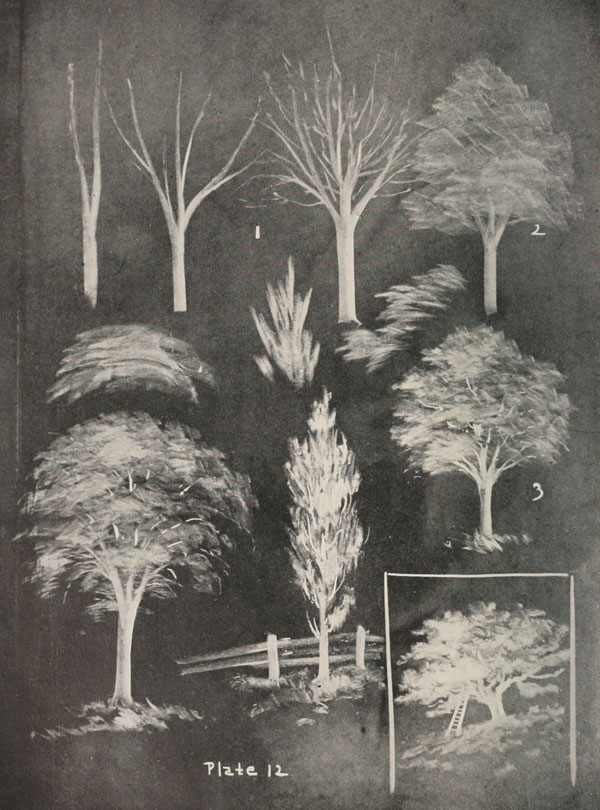
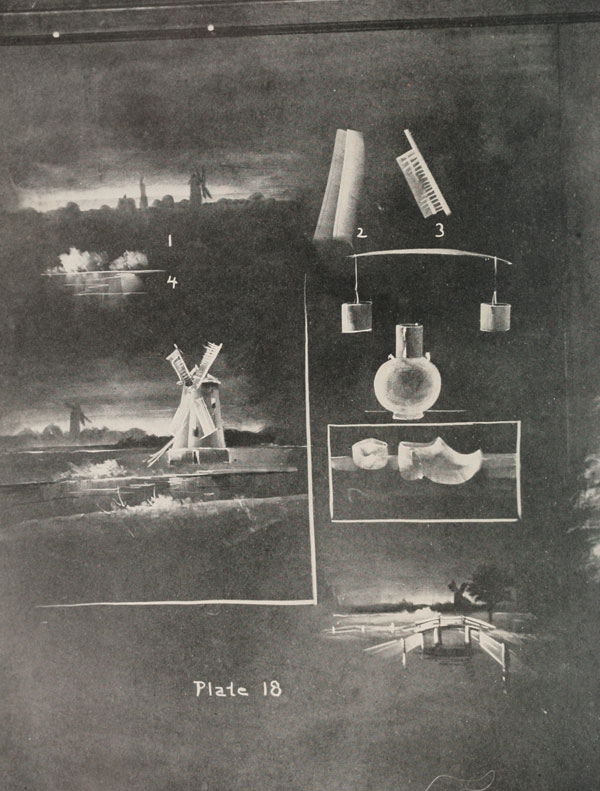
The strokes upon this plate are more often used than any others which will be given in these lessons. These strokes are made by holding the chalk by one end rather than in the middle, and then by drawing in any direction desired, letting the pressure come at the end of the chalk, thus giving a graded stroke from side to side.
3.

4.
5.
6.

7.
8.

9.

10.

11.

12.

13.
14.
15.
16.

17.
18.

19.
20.

21.

If you enjoyed this post, the Sifter
highly recommends:


