Home
FAQ
Membership
Login
Register
Contact us
Image gallery for:
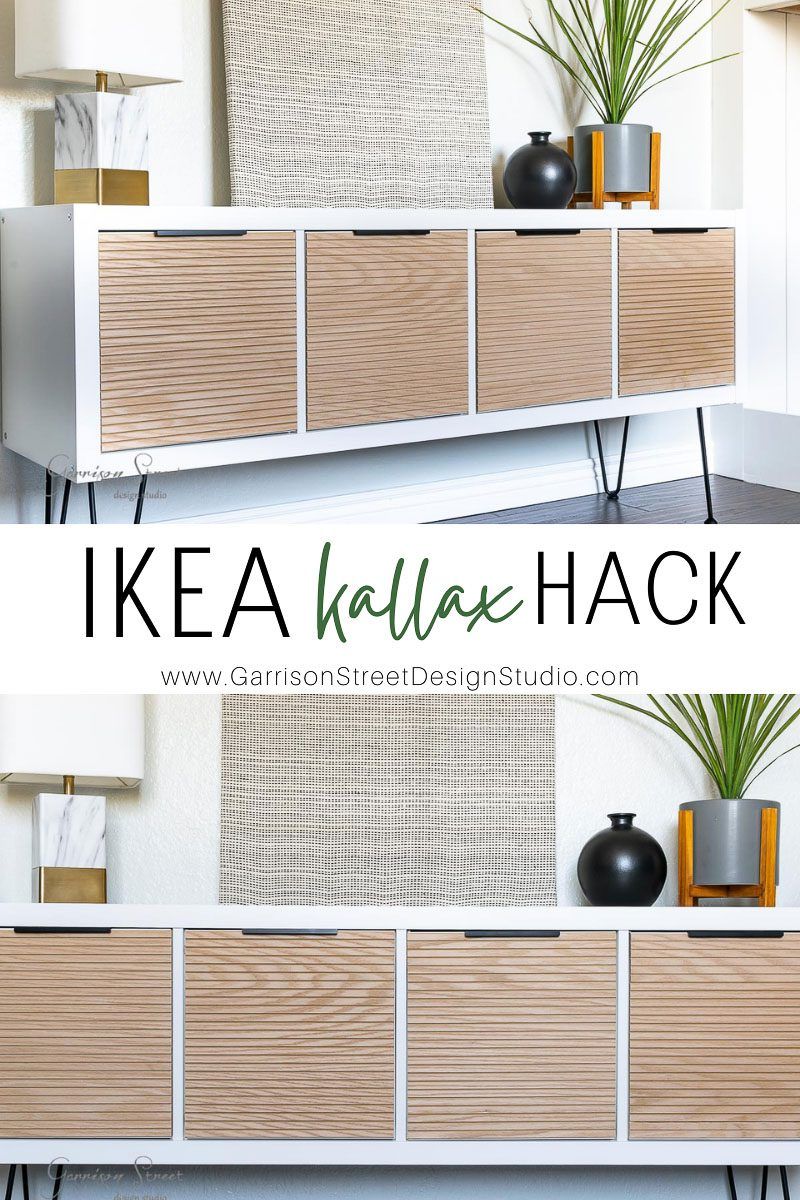
Kallax
Advertisement
42 Ikea Kallax Ideas & Hacks For Every Room
For the Home
25 Ikea Kallax Hacks - How to Customize Plain Storage Cubes
Ideas for our one-day home
IKEA - KALLAX Regal, weiß, Breite: 147 cm
Products
selber machen
Advertisement
We built in the KALLAX for a totally new look
B o y s R o o m.
Ikea Kallax DIY
Clever
Designer-KALLAX: 10 coole Hacks, die dein IKEA-Regal aufwerten
Ikea hacks
Quick Saves
46 Ikea Kallax Hacks and Ideas in 2025
DIY
Familie findet super Lösung für zu langes IKEA-Regal
Home,Dekor,Erlebnisspiel(t)räume
21 Genius IKEA Kallax Organization Hacks
Show Dana
Advertisement
Advertisement
Advertisement
IKEA Kallax Hacks: From Plain to Brilliant in 9 Acts
bibliotheque murale
19 Creative Kallax Room Divider Ideas You Need To Try
Bunker House
DIY IKEA Kallax Hack Makeover with Fluted Doors
Home ideas
46 Ikea Kallax Hacks and Ideas in 2025
Ideas for the future
Gracie
These KALLAX Hacks Are So Good, You Won't Even Believe They're IKEA
Salon
Familie findet super Lösung für zu langes IKEA-Regal
tricks