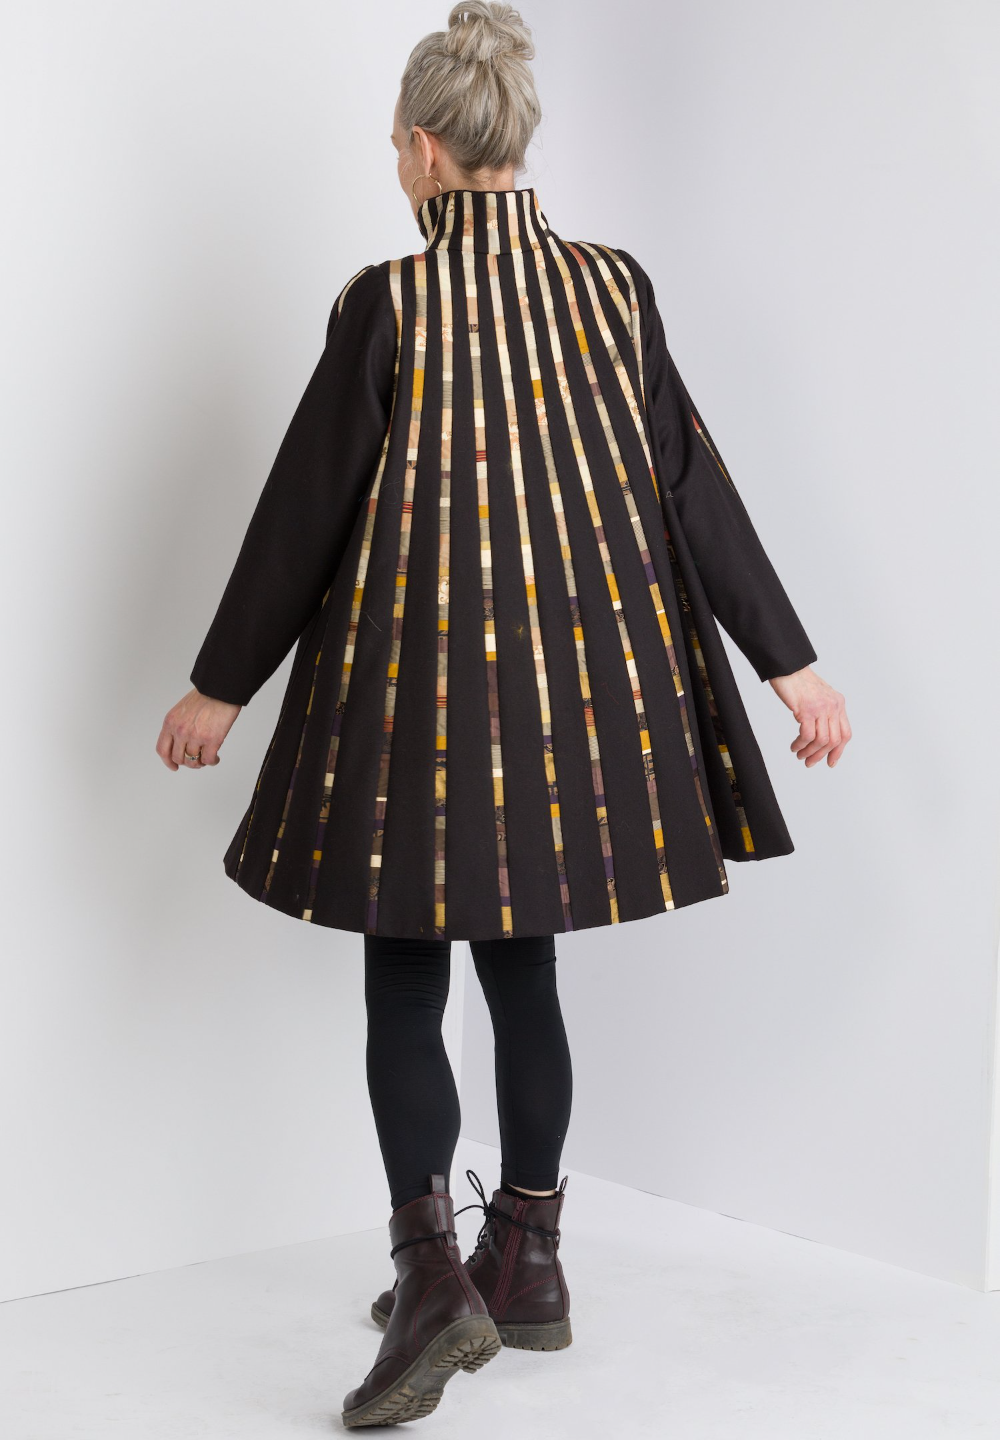
In writing this, my last entry of 12 about this sweater coat, I notice that I didn’t start sewing until Part 6. It confirms my suspicion that there’s a lot more to sewing clothing than threading a needle and taking stitches. If you’ve made it this far, you probably want to see the coat first and hear about the buttons later. Alas, with no more pomp or circumstance, here is the finished coat. Front… Lining... Side… Back… FASTENERS Fasteners still confuse me. I often put off thinking about them until the end, and then I get stuck. This time was no exception. There are just too many options, and I’m never sure which one is the best. I’ll limit this to what I might do next time if I have the wherewithal to plan ahead, and what I did. First, if I overlap the front too much to close the coat, the design won’t be symmetric. Too bad. I should have used a vertical band or two down the two front lapels, long vertical stripes. I had sketched designs with such lapels early, but I rejected them because I knew I couldn’t cut them in a single piece. I realize now that I should have just pieced them out of a single color. If I make another sweater coat, I think I will use vertical patching down the center front and move the diamonds out a bit. I also realize that a zipper closure would be nice. But I never seem to find nice heavy-duty zippers for sale. I don’t know as much about zippers as I’d like. What’s your favorite type of zippor? Anyways, adding a zipper would require ripping the whole front seams open, and I don’t want to do that. So, I decide to use buttons with loops. BUTTONS WITH LOOPS Making button holes freaks me out. I have holephobia. If my sewing machine screws up a button hole, things get ugly. If that’s not enough, cutting holes in the front of a project that took me weeks to complete is just too much anxiety. It feels like if I screw up now, I’ve wasted so much time and I won’t be able to fix it. Instead of button holes, I prefer fabric loops, and I have a few large scraps of fabric left to make a set of matching loops. So, I pin the front of the coat to mark 4 buttons and loops. I choose big shiny black buttons from my Grandmom’s button box. I have three large ones, and a smaller one that I’ll use right at the top. To make the loops, I start by sewing a strip 1 ¾ inches wide using a 4 thread overlock stitch. I use thick dark blue fabric because I like the color, and with a little effort, I get the tube to turn. It’s way too thick for the buttons. The tube is thicker than the shanks are high. Fortunately, I have enough of a thinner black fabric so I use that instead. I sew my tubes from strips 1 5/8 inches wide and 5 inches long. After turning, I stretch them on my ironing board with two pins on each end, and I press them with tons of steam, more steam than pressing, to get the stretch out. Through the hole in the side seam, I pull out the front edge seam between the front and front facing. I cut open the seams where my 4 pins are, and poke a loop through each hole. Here are two done, two to go. I flip the coat and pin the loops into position, checking that the loops are the right size for the buttons. Flip again through the hole in the lining, repin, and sew the loops into place on my regular sewing machine… forwards, backwards, forwards backwards, through the seam allowance. These puppies aren’t going anywhere. I attach the buttons with smaller buttons on the inside to distribute the force and prevent the fabric from puckering later. I use nylon thread and 3 or 4 knots per hole. I sew up the hole in the lining, and add my tag. Stop and admire my work. It’s really done! And it fits like a dream! Next project? Definitely something quick and easy, maybe a skirt. Thanks for playing. Want it? This sweater coat is for sale in my Etsy shop.